What to Inspect During Pre-Possession Snagging?

Featured Image of What to Inspect During Pre-Possession Snagging?


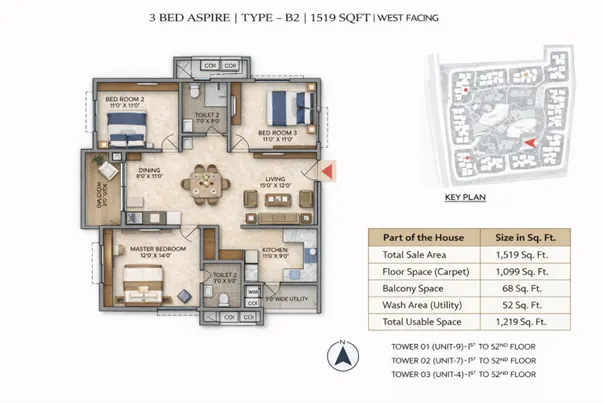
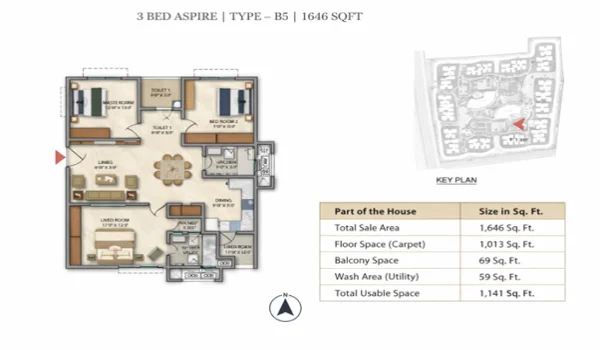
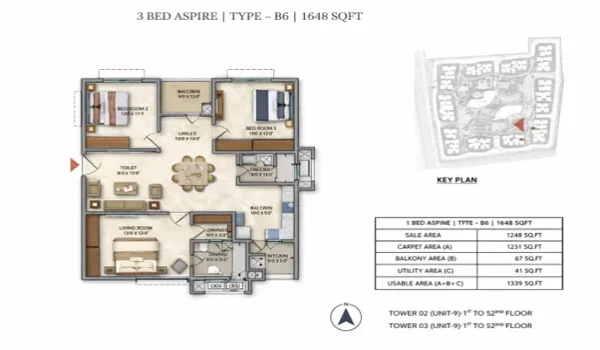
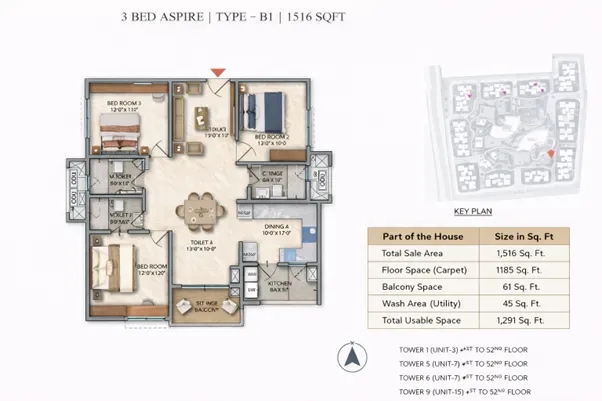
Pre-possession snagging is the act of checking your new apartment for any flaws or defects before you officially take ownership. You should inspect walls, flooring, doors, windows, electrical systems, plumbing, and common amenities to make sure everything is in perfect working order. The top project Prestige Golden Grove has cleared the 1st stage of snagging by the engineer and architect. In the ongoing stage buyers can check the work and built quality.

Identifying and reporting these issues before you move in allows the builder to fix them at no extra cost to you. This inspection is essential for both ready-to-move homes and newly completed ones.

Note: In projects like Prestige Golden Grove, these features are checked by architects before handover, but it is still wise for you to review site photos of the finished units, check online portals for projected rental income, and read buyer reviews to understand the quality of the delivery.

What is Pre-Possession Snagging?


Snagging simply means examining your property before you accept the keys from the builder. It helps you catch construction mistakes, unfinished tasks, or faulty installations. While this is a common practice in countries like the UK, Australia, and the UAE, many Indian homebuyers are now doing it too.

Experts recommend doing this inspection at least one week before your possession date. Reports show that nearly 70% of new apartments have small defects that need fixing.

Why is Snagging Important?


Even the most famous builders might miss small details during construction. Inspecting your home early allows you to request repairs before you make your final payment, saving you the hassle and cost of fixing things later. While RERA (2016) often grants a five-year "defect liability period," catching problems now is much better.

Key Areas to Inspect


1. Check the Walls and Ceiling

The Walls and Ceiling should look really smooth and even. You should check them in the light to see if there are any cracks, dents, stains or if the paint is peeling off. If you see any water marks near the windows or the ceiling that is a warning sign that there might be a leak somewhere.

Gently tap on the Walls and Ceiling to see if they sound hollow, because if they do, it could mean that the plastering is not good.

2. Inspect the Flooring

Walk around every room to see if the tiles are level and properly aligned. Listen with attention to see if you can hear any sounds, which could mean that some tiles are loose. Also check the tiles for any scratches, chips or uneven joints. The grout lines should be clean. Look the same all over.

3. Examine Doors and Windows

All the Doors and Windows should open and close easily without any effort. Check that the handles, hinges and locks on the Doors and Windows are working smoothly and that you have all the keys.

Make sure the doors are aligned properly with their frames so that dust and bugs cannot get in. The Windows should be sealed well so that rain does not leak inside.

4. Test Electrical Systems

Turn on every single light and fan. Test every power socket with a device (like a phone charger). Check your distribution board to see that the circuit breakers are correctly labeled. If you have a smart home system or video door phone, test those too.

5. Inspect Plumbing Fixtures

This is very important because leaks can be expensive to fix. Run all the taps and showers to test the water pressure. Flush the toilets to make sure they fill up correctly. Look under all the sinks to see if there are any drips.

Here is a tip: pour a bucket of water on the bathroom floor to see if the slope of the floor directs the water to the drain correctly.

6. Verify Kitchen Fittings

Check that the granite countertops do not have any cracks. Make sure the cabinets open and close smoothly. If you have gas lines, chimney ducts or water purifier points in the kitchen, make sure they are installed securely and in spots. The Kitchen Fittings should be in condition and working properly.

7. Measure Carpet Area

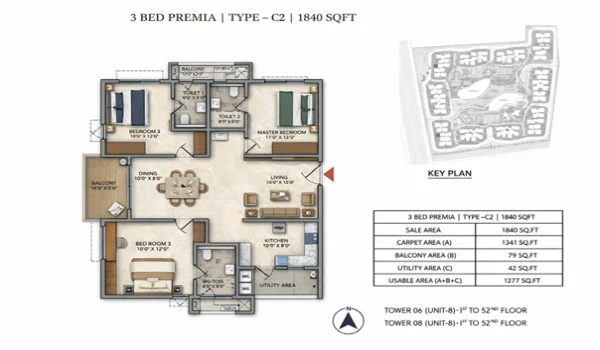
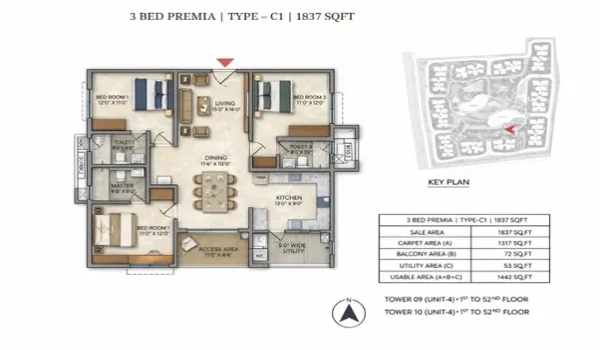
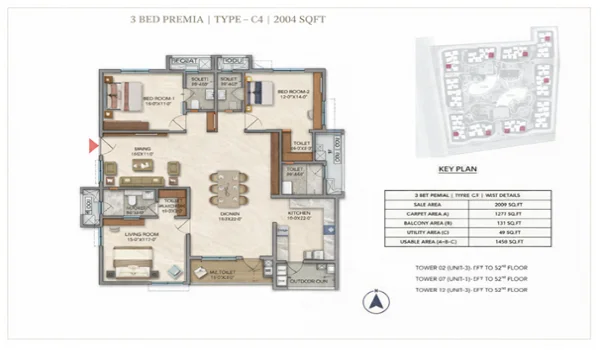
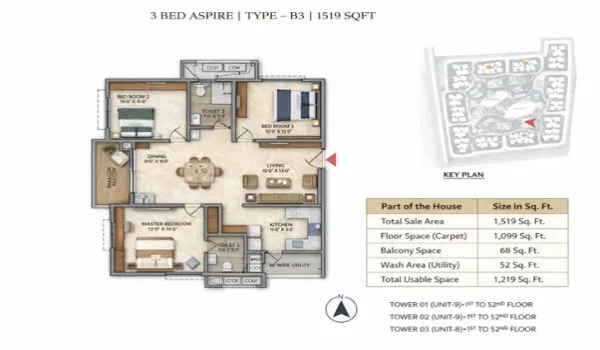
Use a measuring tape or a great laser tool to measure your rooms. Compare these against the floor plan the builder gave you. RERA guidelines require builders to provide the exact carpet area promised; even a small difference of 10–20 sq. ft. can change the value of your home.

8. Inspect Common Amenities

Don't just look at your flat. Check the lifts, hallways, staircases and fire safety systems. Make sure the gym, pool and park are ready if they were promised when you move in.


Prestige Golden Grove Chennai and Quality Inspection


Prestige Golden Grove Chennai is a development with good amenities like nice gardens, fitness centers and sports courts. If you are taking possession here, a thorough check ensures your flooring, electricals and plumbing are good. A proper check now means a smoother move later.
Prepare a Snagging Checklist


Making a checklist helps you stay organized. Professional companies charge a lot for a check, but you can easily do a basic check yourself. Take photos of every problem you find and send them to the builder right away. Keep a written record of all conversations until everything is fixed.

FAQs


1. What is a move-in check?

It is a check of your property for problems before you take the keys.

2. When should I do it?

Ideally, one week before you get the keys.

3. What are common problems?

Cracked walls, tiles, leaking pipes, faulty electrical switches and poorly fitted doors.

4. Can builders fix things after I move in?

Yes, they often have to fix problems for up to five years.

5. Should I hire someone?

They can find issues, but a careful buyer can also do a great job with a simple checklist.

Prestige Golden Grove Blog


Enquiry
Enquire Now